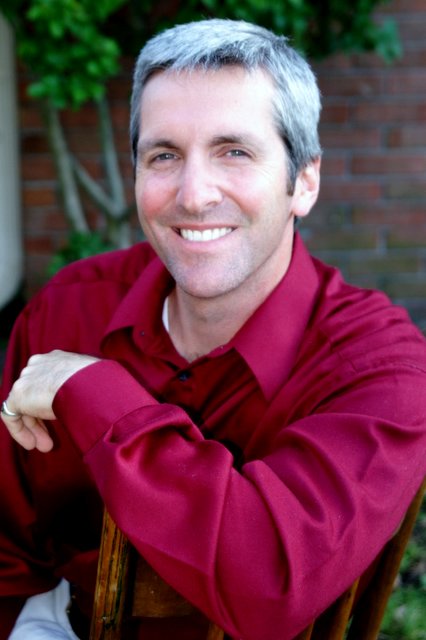
Here is a picture of my son Andrew and I talking about using a camera with manual zoom. So far his experience has been a Sony point-and-shoot camera. The neat thing is Andrew has shown a love for taking pictures since he was old enough to hold a camera and shoot. Of course most of his shots were pointing right up nose but it was a cool "kids-eye-view" of how he saw the world.
I look forward to teaching him not only the camera side of composition but also the computer side. Life is so short and success is so hollow if we don't mentor some one else. Why not our children? I think we have lost that sweet and beautiful art. The art of mentoring. I have had some wonderful people in my life that have helped me become all that I hoped I would be.
Who are you mentoring? Who are you gently and consistently showing the beautiful parts of life? Thats what I love about photography. A beautiful moment in time can be frozen for a lifetime. So what do ya say? Mentor someone and lets make beautiful LIFE together.
Below you can see a couple of shots Andrew took with my Canon.

Saturday, October 27
The Making of a Photographer
![]()
Sunday, October 7
Celebration
What a wonderful time today. The weather was absolutely picture perfect (no pun intended). The people were gracious and the message was encouraging. I have included some photos from the days shoot.
Plenty of singing and celebrating worldwide communion.
Advent is about children and families.


After a delightful outdoor service all 650 of us had a pic-nic.
![]()
Tuesday, October 2
Colorizing In Photoshop
There is a farely simple process in photoshop that alows you to Black and White the photo and then colorize one element. This technique creates a very strong focal point in your photo. Wedding photographers use this trick to highlight the Bride and groom or the boquet.
For the first step we need to convert the image to black and white. Start by opening your own image in Photoshop. I have a photo that I took while on a PR shoot for a band in Memphis. I'm going to make the guitar scream! 
Adjusting the saturation is one way to convert a photo to black and white, but the desaturated black and white version lacks contrast and appears washed out. Hang tight and I will show you another way that will produce a nicer result.
Create a new adjustment layer and choose Gradient Map as the adjustment instead of Hue/Saturation. In the Gradient Map dialog, make sure you have a black to white gradient selected, as shown here. If you have any other gradient, click the arrow next to the gradient and select the "Black, White" gradient thumbnail. (You may need to click the small arrow on the gradient palette and load the default gradients.)
If your image looks infrared instead of black and white, you have the gradient in reverse, and you can just tick the "Reverse" button under gradient options.
Click OK to apply the gradient map.
Now that the photo is Black and White lets do the fun part of restoring color to the photo. Because we used an adjustment layer, we still have the color image in the background layer. We are going to paint on the adjustment layer's mask to reveal the color in the background layer below. Hopefully you are already familiar with layer masks; if not you should be able to catch on or find some help on the internet.
Take a look at your layers palette and notice that the gradient map layer has two thumbnail icons. The on on the left indicates the type of adjustment layer, and you can double click on it to change the adjustment. The thumbnail on the right is the layer mask, which is going to be all white at the moment. 
The layer mask lets you erase your adjustment by painting on it. White reveals the adjustment, black blocks it completely, and shades of gray partially reveal it. We are going to reveal the color of the guitar from the background layer by painting on the layer mask with black.
Now, back to our image…
Zoom in on the item that you want to colorize in the photo so that it fills your workspace. Activate the brush tool, pick an appropriately sized brush, and set opacity to 100%. Set the foreground color to black (you can do this by pressing D, then X). Now click on the layer mask thumbnail in the layers palette and then begin painting over the item in your photo. This is a good time to use a graphics tablet if you have one.
As you paint, use the bracket keys to increase or decrease the size of your brush.
[ makes the brush smaller
] makes the brush larger
Shift + [ makes the brush softer
Shift + ] makes the brush harder
I know you probably painted color onto some areas that you didn't intend to. Its Ok...stop crying, all is not lost just switch the foreground color to white by pressing X, and erase away the color back to gray using a small brush. Zoom in close and clean up any edges using the shortcuts you've learned.
When you think you're done, set your zoom level back to 100% (actual pixels). You can do this by double clicking on the zoom tool in the toolbar or by pressing Alt+Ctrl+0. If the colored edges look too harsh, you can soften them slightly by going to Filter > Blur > Gaussian Blur and setting a blur radius of 1-2 pixels.
Now...sit back and admire your handy work. Really cool, huh! I love it! You did a great job. If you used this technique send me a copy of the pic that you did it on and I will post the best ones. 
Remember in life "oportunity comes to those who are prepared" quoting me.
Blessings,
David
![]()
Monday, October 1
Trying the Blog "Thang"
If you are visiting my "NEW" Blog for the first time...Welcome. You never know what will be in this blog I will talk about new photoshop tricks that I learn, I will post some pics of my latest shoots and I will talk about life. So sit back relax and lets chat for a little while.
![]()